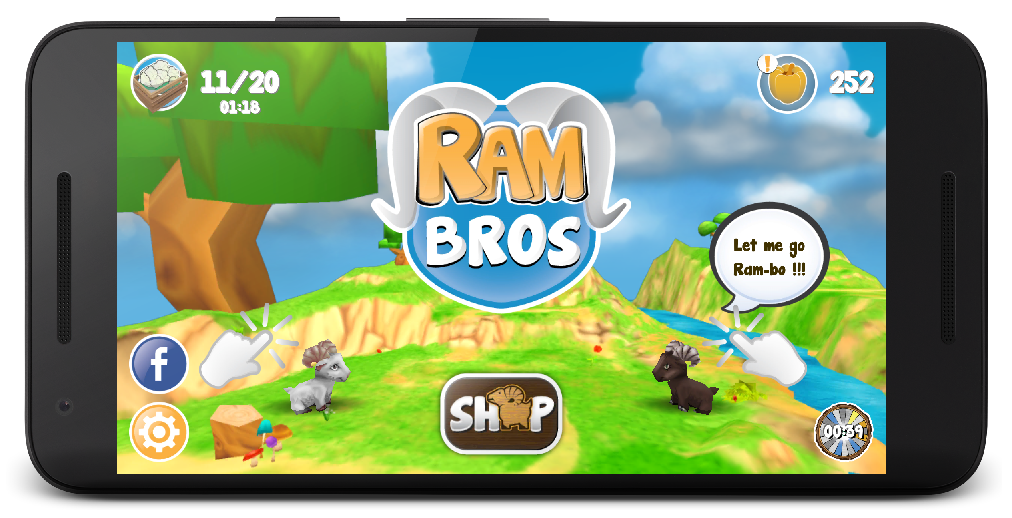
Unity project with Gradle support
Tools
Tools that were used:
- Unity v5.3.4.f1
- Android Studio v2.2 Preview 1
Step 1 – Export Android project from Unity
On “Build Settings” window select “Google Android project” checkbox, and click “Export”. Specify the output folder.
Troubleshooting
Problem:
CommandInvokationFailure: Failed to re-package resources.

AndroidManifest.xml:36: error: Error: No resource found that matches the given name (at 'value' with value '@integer/google_play_services_version').
Solution:
Deleted
<meta-data android:name="com.google.android.gms.version" android:value="@integer/google_play_services_version" />
from AndroidManifest.xml underPlugins/MainLibProj
Step 2 – Import project to Android Studio
Import project on Android Studio, File->New->Import Project… selecting the main project folder and not the root folder, or any of the libs projects (MainLibProj, Soomla, SoomlaShared). In my case it was the “Ram Bros” folder
Note: Android studio will create an Android project with Gradle support in a new folder, you will specify.
Step 3 – Fix AndroidManifest on MainLibProj
If you check import-summary.txt:
Ignored Files:
--------------
The following files were *not* copied into the new Gradle project; you
should evaluate whether these are still needed in your project and if
so manually move them:
From MainLibProj:
* AndroidManifest.xml
From Soomla:
* AndroidManifest.xml
From SoomlaShared:
* AndroidManifest.xml- We only need to manually move AndroidManifest.xml from MainLibProj folder. Soomla ones are not needed. Cut it from MainLibProj of exported folder and paste it under MainLibProj/main/src on the newly created project.
- Update it:
Include
<meta-data android:name="com.google.android.gms.version" android:value="@integer/google_play_services_version" />that was previously deleted on step 1. - Update MainLibProj/build.gradle file
apply plugin: 'com.android.library'instead of
apply plugin: 'java'
Step 4 – Correct project structure and Gradle files
- Copy libraries from libs folder of Soomla and SoomlaShared projects, to main libs folder
- Delete Soomla and SoomlaShared folders
- Delete jars and change them to Gradle dependencies (Check on final outpout and attached Gradle files)
- Insert “notification” plugin project as module
- Update settings.gradle respectively:
include ':mainLibProj'
include ':notification'
include ':ramBros'
Step 5 – Build project on emulator
It is the point where you can start building your newly android project with Gradle support! Of course its also the time where you start identifying all the problems. 🙂
Troubleshooting
- My game started and then crashed!
Problem: Unity ads classes not found
Solution: Downloaded unity-ads.aar from here and put it under ramBros/libs folder. Update build.gradle under ramBros folder respectively, add:compile(name: 'unity-ads', ext: 'aar') - Testing build on emulator
Problem: Google Play achievements and leaderboards were not working.V/FA: Activity paused, time: 277722 D/FA: Application backgrounded. Logging engagement D/FA: Logging event (FE): _e, Bundle[{_o=auto, _et=9466}] V/FA: Using measurement service V/FA: Connecting to remote service D/FA: Connected to remote service V/FA: Processing queued up service tasks: 1 V/GamesNativeSDK: Received Activity Resume Event. V/FA: Activity resumed, time: 283033 V/FA: Inactivity, disconnecting from AppMeasurementService V/GamesNativeSDK: Play Games callback indicates connection failure. I/GamesNativeSDK: UI interaction required to connect to Google Play. V/GamesNativeSDK: Play Games callback indicates connection failure. I/GamesNativeSDK: UI interaction required to connect to Google Play. V/GamesNativeSDK: Play Games callback indicates connection failure. I/GamesNativeSDK: UI interaction required to connect to Google Play. V/GamesNativeSDK: Play Games callback indicates connection failure. I/GamesNativeSDK: UI interaction required to connect to Google Play. I/Unity: AuthState == Unauthenticated calling auth callbacks with failureSolution: It was a debug build from Android studio. Switching to release build and signing my app was the solution.
Step 6 – Firebase support
Now the fun part can start! I had my game built successfully with all components working. Time to add some new functionality! I updated Gradle files following instructions from here. I added analytics, crash and notification support. They worked like a charm! 🙂
Note: Make sure google play services libraries (build.gradle file under MainLibProj folder) are aligned with firebase library.
Having different versions resulted in:
"Caused by: java.lang.NoSuchMethodError: No static method zza(Landroid/content/Context;Lcom/google/android/gms/internal" errorStep 7 – Build for device
After successfully build on emulator it was time to test on device. Again my game started and then crashed. It was an issue with new “Instant run” functionality of Android Studio
Troubleshooting
Problem: Unable to instantiate application com.android.tools.fd.runtime.BootstrapApplication
Solution: Disable Instant run (instructions)
Final thoughts
It was a task that included a lot of trial and error… Having your Unity project under Android studio, able to integrate anything you can imagine using powerful Gradle build system, is priceless. 🙂 You can find the final project structure and respective Gradle files attached here or on github.


